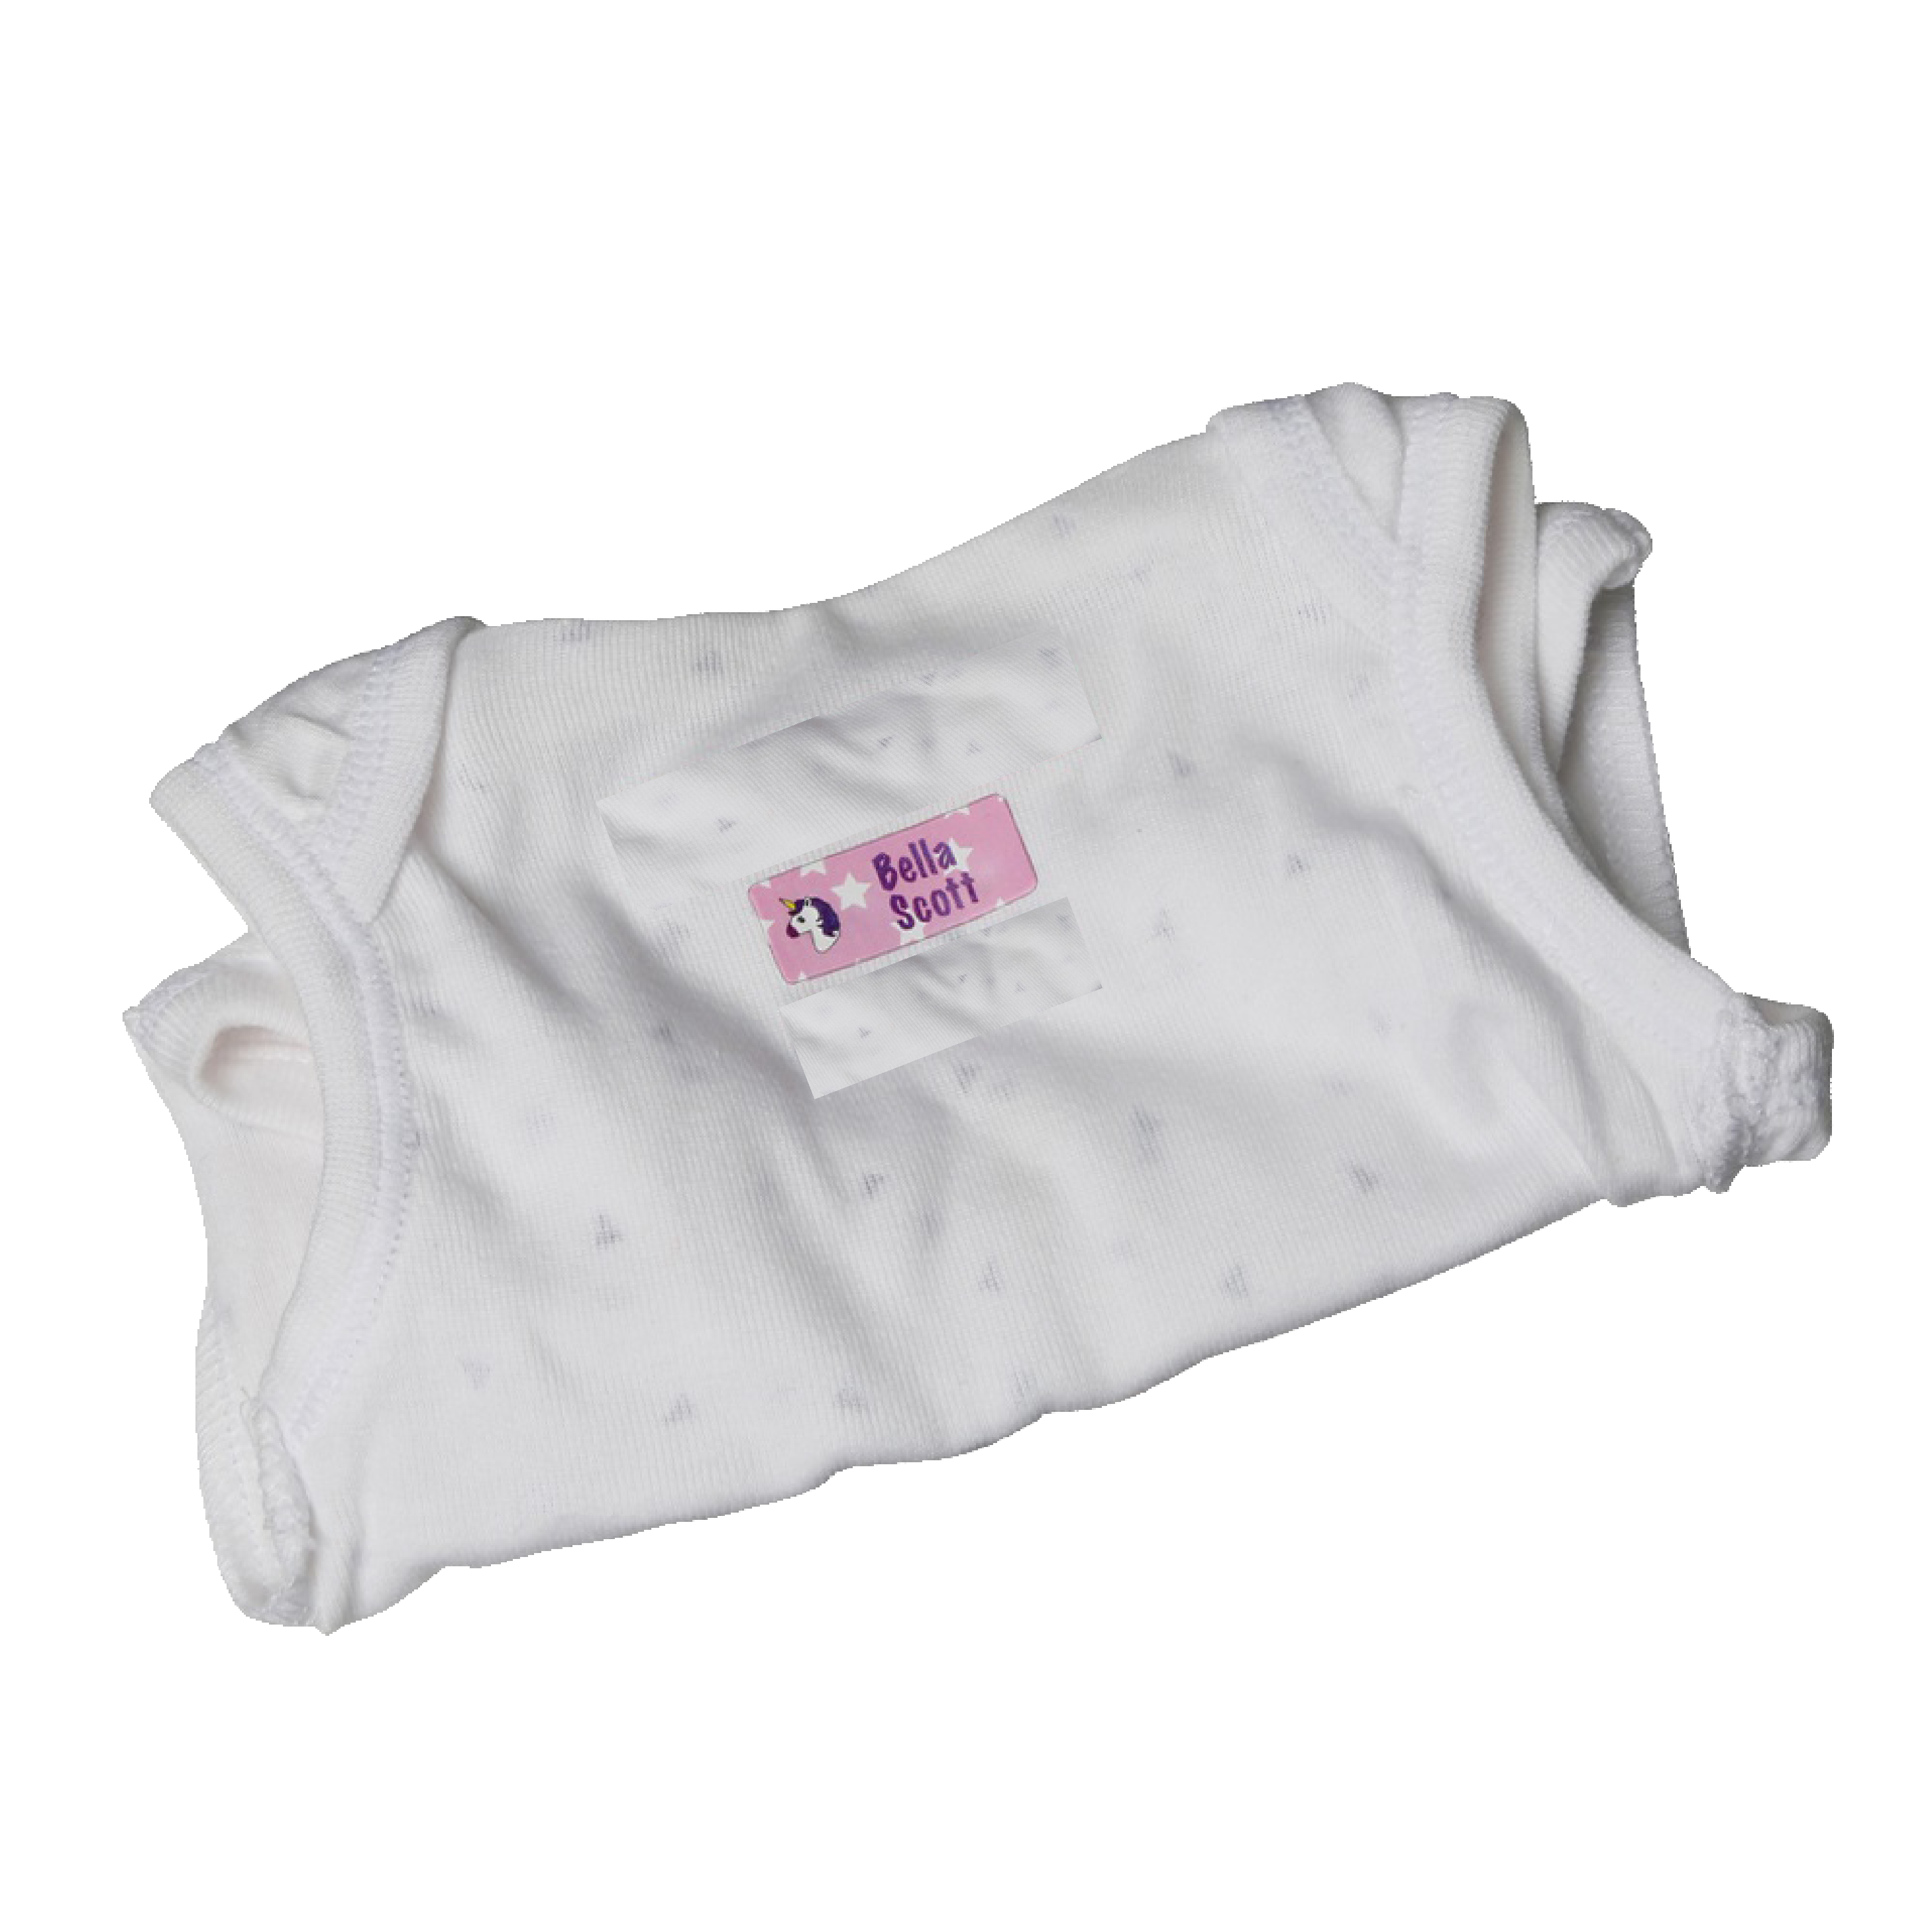
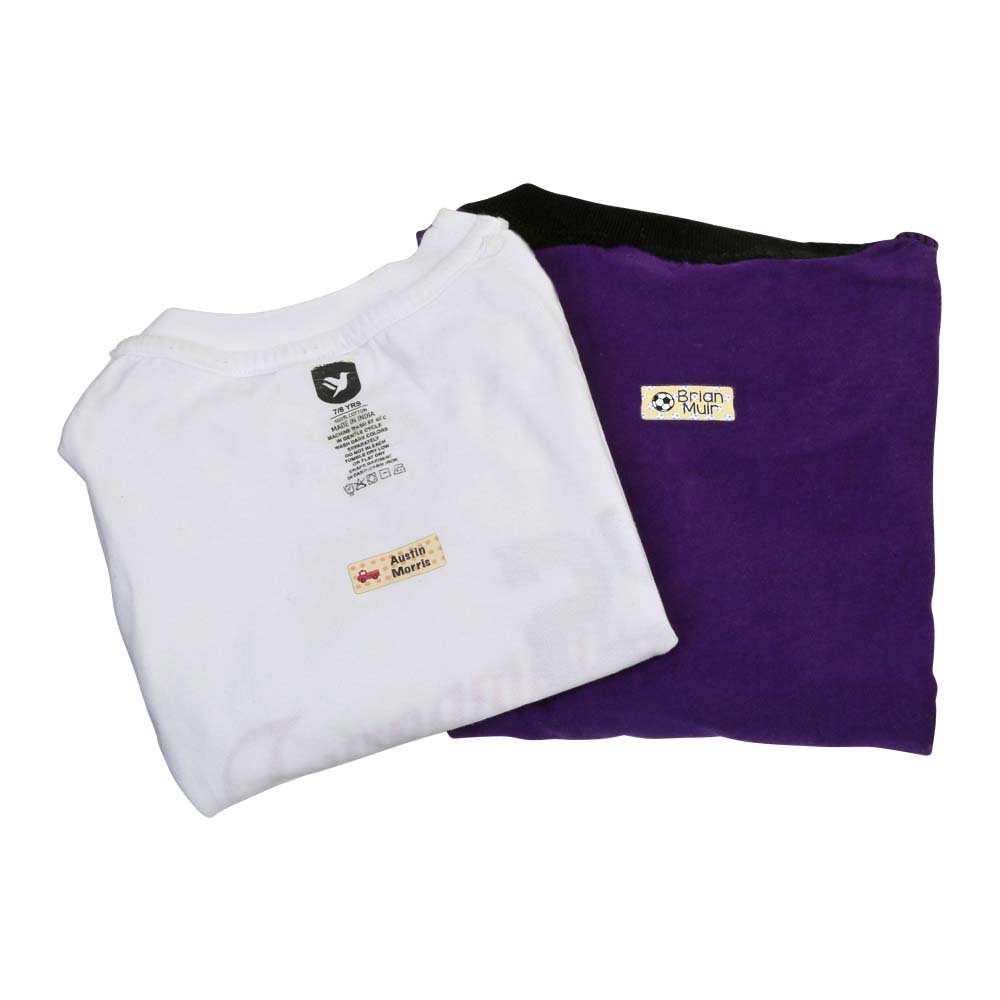
CHECK OUT OUR AWESOME LABEL DESIGNS!!
IRON ON LABELS: BRIEF SUMMARY
Iron On Clothing Labels can be easily applied with a household iron to various fabrics. Above all these labels Can also be sewed on to any fabric using a machine. Our Iron On labels are an easy way to keep track of those pesky socks!. Iron Needs to be very hot 190 degrees for labels to stick. Please borrow someone else’s iron if your iron is not hot enough.
Laundry safe
Are you using Iron-on clothing labels for the first time? Or are you unaware of how to use iron-on clothing labels on shirts? Then you have come to the right place! Iron-on labels offer a convenient and stylish way to personalize your clothes. Whether you want to add your name, logo, or custom design, these labels are easy to use and durable. In this blog post, we will guide you through applying iron-on clothing labels to your shirts through simple steps, ensuring a professional and long-lasting result.
Step 1: Gather Your Supplies
To get started, you will need the following supplies:
- Iron-on clothing labels of your choice
- Clean and dry shirt(s)
- Iron (without steam)
- Thin cloth or parchment paper
- A hard surface, like an ironing board or table
Step 2: Prepare the Shirt & Position the Labels
Ensure that the shirt is clean, dry, and wrinkle-free. That creates a smooth surface for the labels to adhere effectively. Decide where you want to place the iron-on label on your shirt. Common locations include the collar, sleeve, or inside the back of the garment. Once you have chosen the spot, lay the shirt on a flat surface.
Step 3: Heat Up the Iron
Preheat your iron to the recommended temperature stated on the label packaging. Generally, a medium to high heat setting works well for most iron-on labels. Always follow the specific instructions given by the manufacturer to achieve the best results. Place a thin cloth or parchment paper over the area where you intend to apply the label. That will act as a barrier between the iron and the label by preventing direct heat contact.
Step 4: Apply the Label
Carefully place the iron-on label face down on the desired location of a shirt. Make sure the adhesive side is in contact with the fabric. Once positioned, press firmly on the label with your iron for the recommended duration specified on the label packaging. Apply consistent pressure and avoid sliding the iron around.
Step 5: Let it Cool and Set
After the recommended duration, gently lift the corner of the label to see if it has properly adhered to the fabric. If it has not, apply additional heat and pressure as needed until the label sticks securely. Allow the shirt to cool down completely before moving or handling it. That will ensure that the adhesive sets properly, enhancing its longevity.
Step 6: Testing and Washing
Iron-on labels are safe for machine washing and can also be machine dried. To ensure that the iron-on label is precisely adhered to a shirt before washing, it is best to wait for 24 hours. Before wearing or washing the labeled shirt, it is advisable to test the durability of the label. Wash the shirt as per the recommended instructions provided by the label manufacturer. That will help you determine if the label withstands the washing process.
Personalizing your shirts with iron-on clothing labels is a simple and effective way to add a touch of uniqueness and style. By following this step-by-step process outlined in this guide, you can confidently apply iron-on labels to your shirts. Remember to choose quality labels and follow the manufacturer’s instructions for optimal results. With your creativity and the best materials, you can transform your shirts into personalized works of art. Buy your Iron-on labels here- www.preciouslabels.co.nz/product-category/clothing-labels/iron-on-labels & enjoy the process and have fun showcasing your individuality!


 .
.


Reviews
There are no reviews yet.